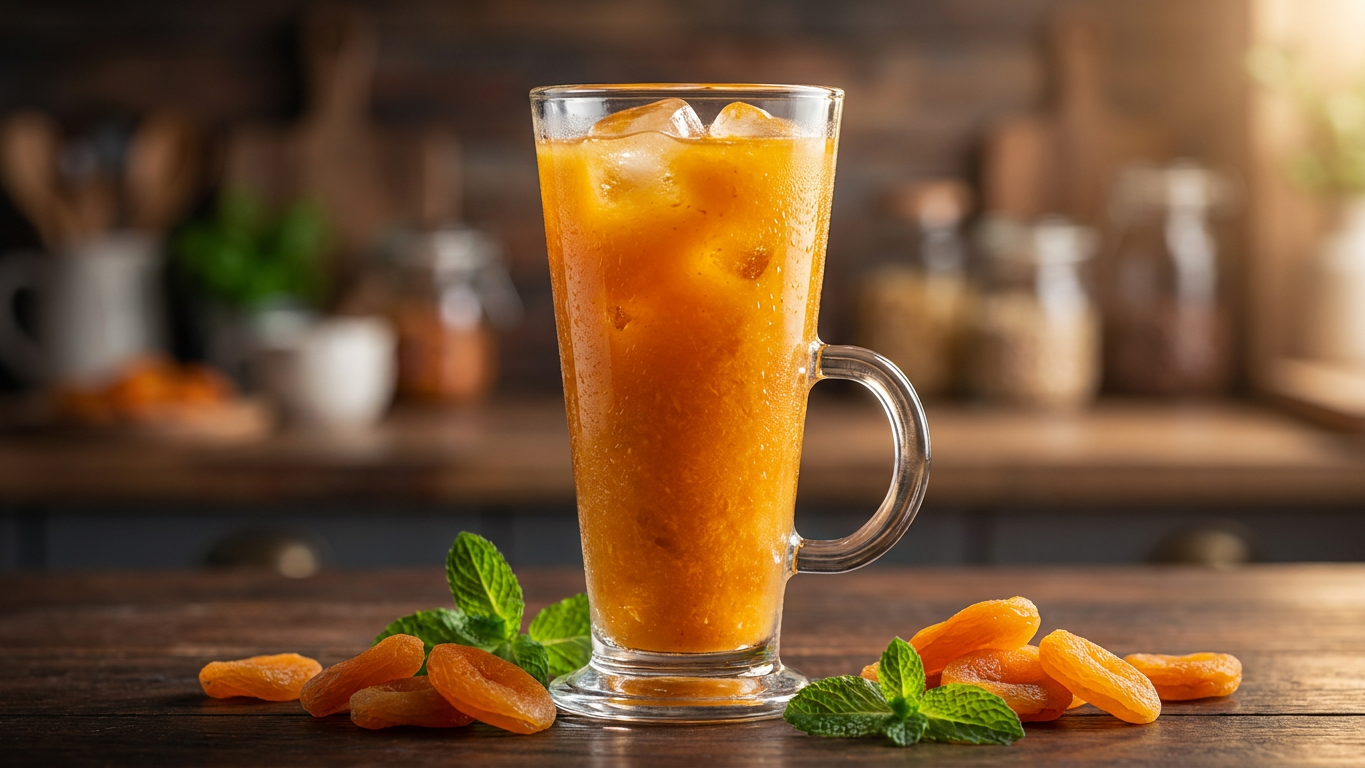
Soaked dried apricots blended into a chilled drink create a texture that feels naturally smooth, fruity, and refreshing without relying on artificial flavors or syrups. The concentrated sweetness of dried apricots gives the drink depth and body, while cold water and ice turn it into something light, bright, and especially enjoyable in warm weather.
Unlike heavily processed soft drinks, apricot-based drinks carry natural fruit flavor along with gentle tartness and a rich golden color that immediately stands out in the glass. Blending softened apricots also gives the drink a thicker texture that feels more satisfying and substantial than ordinary juices.
Dried apricots are widely appreciated because they naturally contain fiber, potassium, and antioxidants, which is one reason they continue to remain popular in both snacks and traditional fruit-based drinks. Their concentrated flavor also makes them ideal for refreshing beverages because a small amount creates noticeable richness and fruitiness.
Served chilled with ice, dried apricot refresher combines sweetness, freshness, and fruit-forward flavor in a way that feels cooling, vibrant, and naturally energizing during hot days.
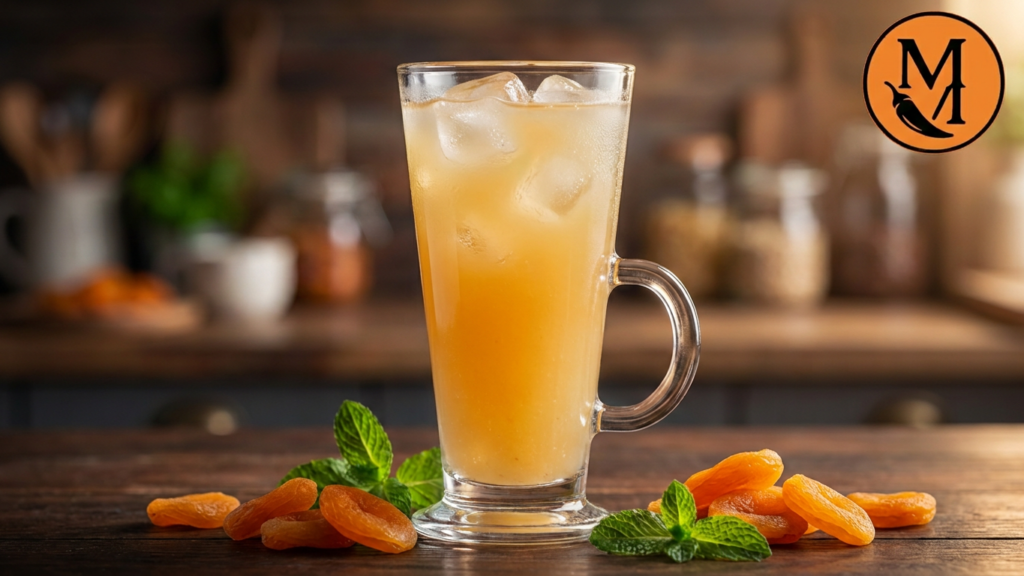
Traditional Apricot Refresher Drink
Equipment
- Blender
Ingredients
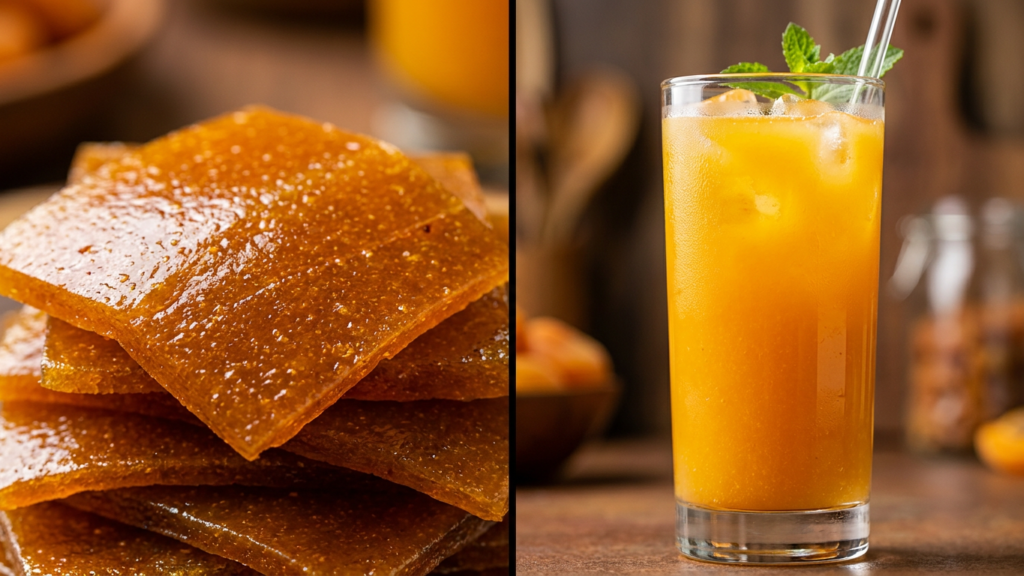
- 200 g Apricot Puree Sheet ½ sheet of sun-dried apricot puree
- 4 cups Ice cubes
- 3 tbsp Sugar Adjust according to your preference
- 3½ cups water
Instructions
- Preparing Ingredients
- Cut the Sun-dried apricot puree sheet into small pieces.
- Adding Hot Water
- Pour 1½ cups boiling water over it.
- Cover and let it soak overnight or at least 8 hours.
- After soaking, apricot puree pieces may stick to the bottom pf container, before blending loosen it gently with the help of spatula for a smooth drink.
- Blending
- Blend well until smooth.
- Add sugar and blend until sugar dissolve.
- Add water and blend to a smooth consistency.